
Paint
Pick a brush, pick a color, and put something on the canvas.
A new project opens ready to paint. The Brush tool, Basic Brush, and the Draw here layer are already selected.
Drag across the canvas and you'll get a stroke. The rest of this page explains what you just used and how to change it.
Check the active layer
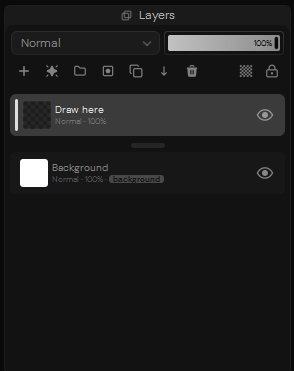
Draw here is transparent, sits above Background, and is picked for you when a project opens. Your strokes land there and the background stays clean.
That default exists because of a mistake every digital painter makes once: an hour of work painted straight onto the background, spotted far too late to separate. Leave Draw here selected for now.
Pick a brush
Basic Brush is already loaded and it's a fine place to start. Wandered off to
another tool? Press B to come back.
Other presets live in the Brushes panel. If you'd rather keep the screen clear, use the button between the size and opacity sliders — that popup gives you brush selection and the settings you use most, so the docked Brushes and Brush Settings panels can stay shut.
Pick a color
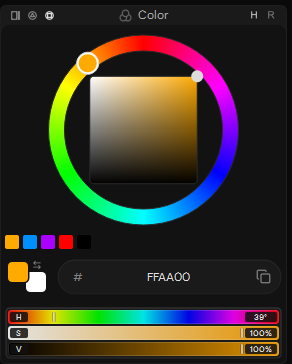
The wheel is the quickest route:
- Grab a hue on the outer ring.
- Grab saturation and brightness inside the square.
- Paint with what you landed on.
The little row under the wheel keeps your recent colors around. Below that you get the active color, a hex field, and HSV sliders when you need to be precise instead of quick.
Make your first marks
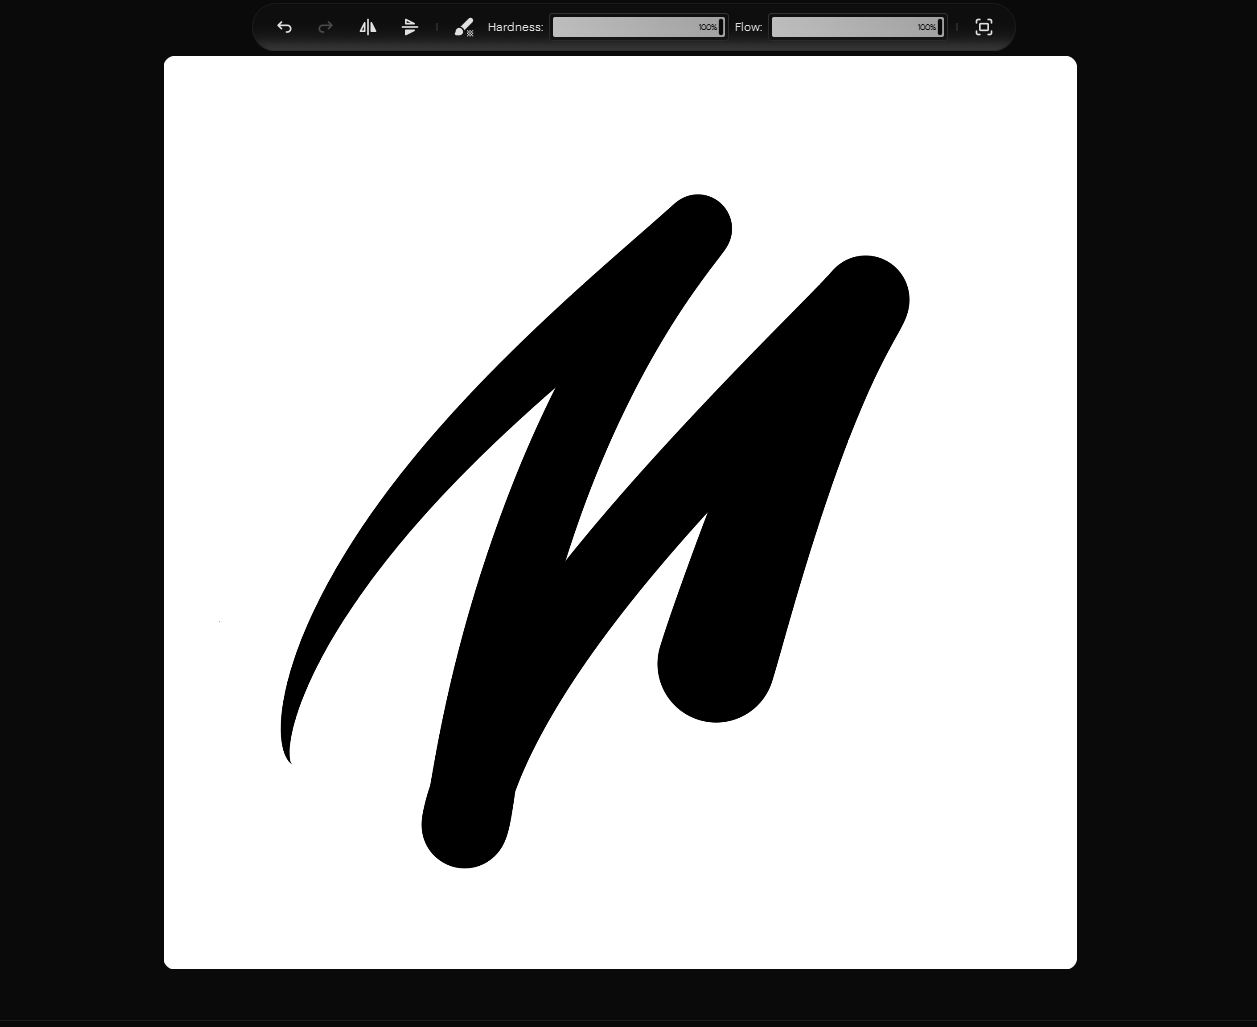
Move onto the canvas and drag with a mouse or a stylus. The stroke goes onto Draw here with the brush and color you picked.
On a pressure-sensitive tablet, brushes that support it respond to pen pressure — how much depends on the brush's settings. A mouse works fine, you just get a constant input instead of a variable one.
Adjust the brush
The upper vertical slider next to the canvas is size. The lower one is opacity. The Tool bar may show more settings for the active tool, like Hardness and Flow.
Faster from the keyboard:
| Action | Shortcut |
|---|---|
| Select the Brush tool | B |
| Decrease brush size | [ |
| Increase brush size | ] |
| Decrease brush opacity | Shift + [ |
| Increase brush opacity | Shift + ] |
Undo, redo, and erase
Two ways to erase:
- Press
Efor the dedicated Eraser tool. - Press
Shift+Eto erase with the brush tip you're already holding.
The second one keeps the character of your brush while it removes pixels, which is what you want when the erased edges should match the painted ones.
Ctrl + Z undoes. Ctrl + Shift + Z redoes. Both are also sitting in the
Tool bar if your hands are on the pen.